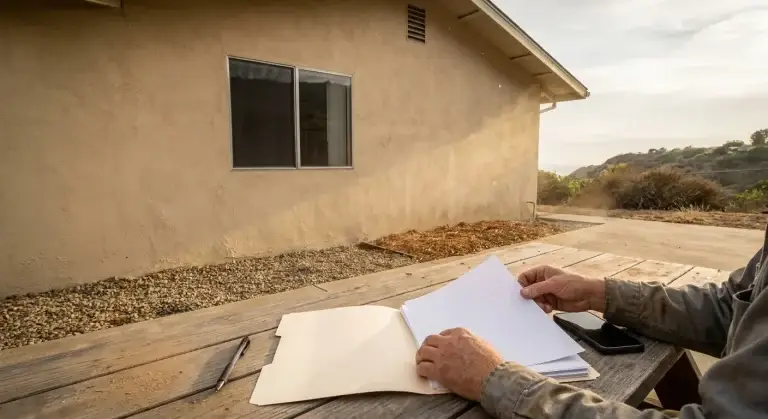
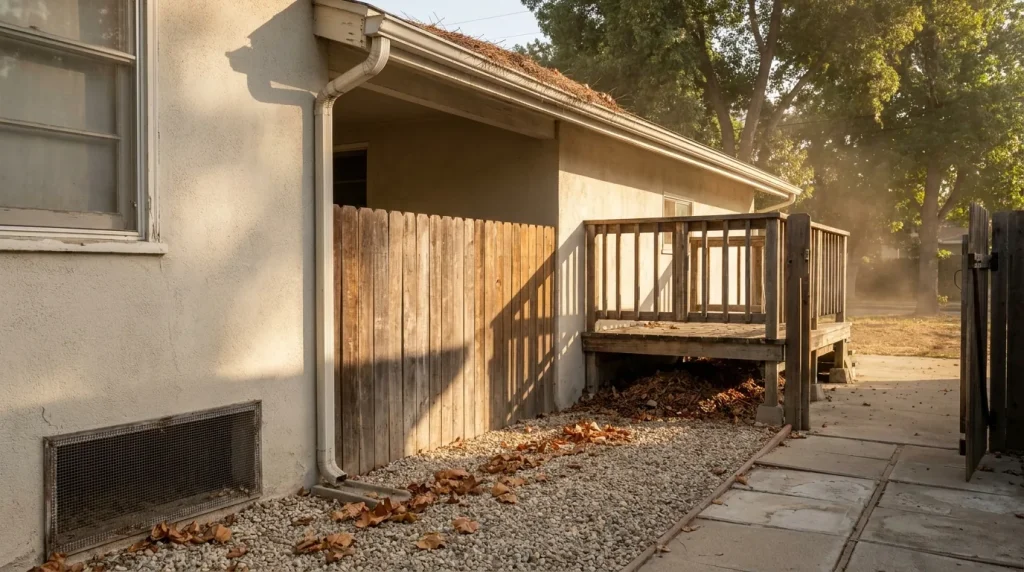
Most failed Zone 0 work looks finished from the street. The strip by the foundation is raked and graveled, and the trim has fresh paint. Embers still find a way in through the gutter, a vent, the gap under the deck or the fence screwed to the siding. The mistakes below are the ones that cost homeowners a second round of work, and each one has a clear fix you can ask for before anyone signs a contract.
Why Zone 0 Work Goes Wrong the First Time
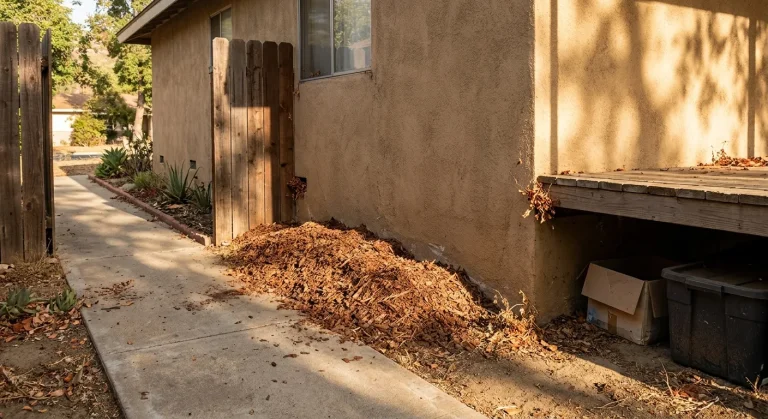
Inspections usually fail for everyday reasons: mulch against the stucco, a wood gate touching the house, leaves packed under the deck, a gutter full of needles. Each one comes from treating the first five feet as a one-time landscaping job or a paint job. Zone 0 is ember control. It has to cover every spot where a burning fragment can land and catch. And it needs upkeep, because leaves, wind and weathering bring the hazard back every season.
Mistake 1: Measuring Five Feet From the Wall and Stopping There
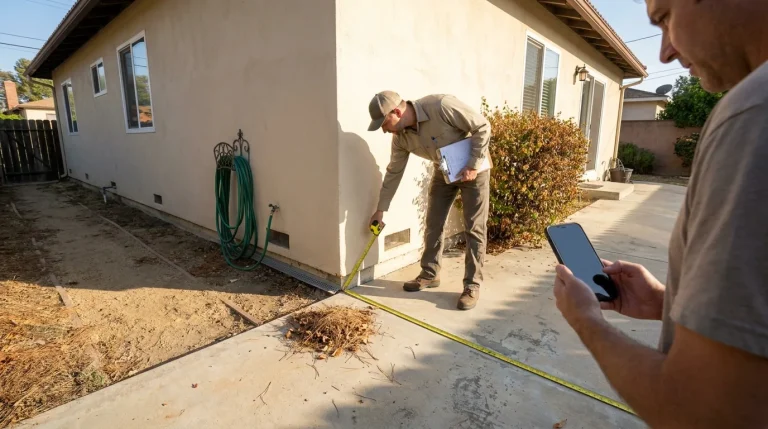
Zone 0 is measured from the exterior wall and from any attached deck, stair, balcony or pergola. If your property line is closer than five feet, the zone stops at the line. You still have to clear prohibited material from whatever space you have.
What it looks like: a tidy gravel band along the foundation, while the area past the back deck, around the side stairs and under the pergola keeps its bark, junipers and stored lumber.
Why it happens: the crew pulls a tape from the wall because the wall is easy to find. Attached structures feel like part of the yard, not the house.
What it costs: ember pockets stay at exactly the spots inspectors check, and the landscaping often gets torn up a second time.
The right move:
- Measure five feet out from every attached feature, including the outer edge of the deck and the bottom step of the stairs.
- Include the ground under decks, stairs and balconies.
- On a tight lot, stop at the property line and clear prohibited items inside it. A narrow side yard on a stucco ranch can be noncombustible from wall to fence.
- If the needed clearance reaches a neighbor’s land, talk to the neighbor and call your local fire agency before anyone cuts. The full story on shared and public land is in “Brush Clearance in Los Angeles: Costs and Hiring.”
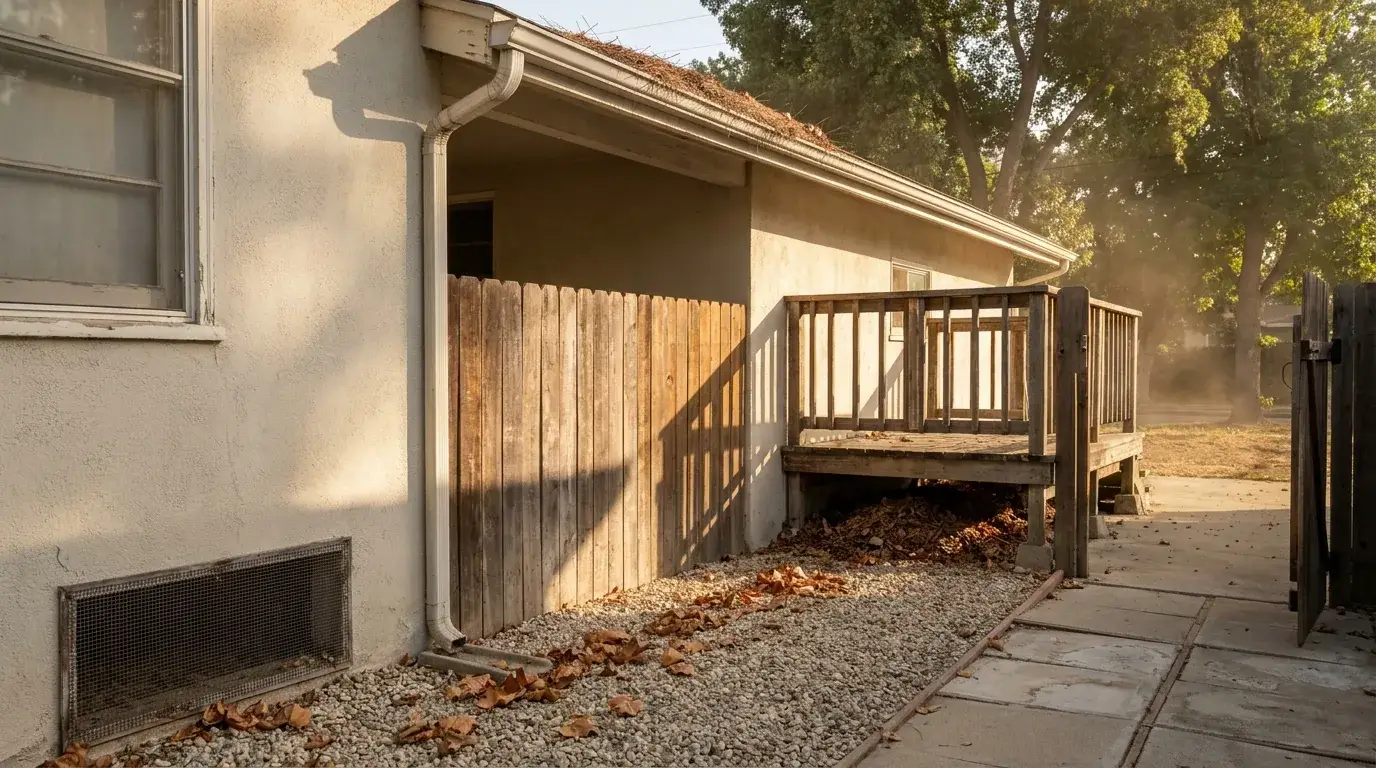
Before: a 5-foot strip measured from the wall. The 10-foot deck has 5 feet of mulch beyond it and leaf litter underneath.
After: a 5-foot strip measured from the deck edge and the stair landing, with the ground under the deck cleared and covered in pavers or gravel.
Mistake 2: Cleaning the Ground and Skipping Roofs, Gutters and Vents
A clear yard doesn’t cancel out a gutter full of dry leaves or an attic vent with coarse screen. Embers land on roofs and blow into openings, so ground-level work leaves the main entry points untouched.
Here’s how it usually happens. The job goes to a landscaper whose scope ends at the soil. Gutters, roof valleys, eaves and vents belong to the building envelope, so nobody owns them. Older Craftsman and mid-century homes often still have quarter-inch screens on their attic and foundation vents. Those openings are big enough for embers to slip through.
What tends to work is tackling ember paths in this order:
- Debris: gutters, roof valleys, roof-to-wall corners and the space under decks.
- Vents: attic, eave, gable and crawl-space openings.
- Gaps: open joints at rafter tails, blocking, siding transitions and around doors.
- Remaining wood: trim, fence sections and deck framing.
Vent guidance varies. According to Douglas County, some agencies call for 1/8 inch mesh on all vents to cut down the number and size of embers getting inside. Other Zone 0 guides recommend 1/16 inch. Your local adopted code and the listed vent product decide which applies. Sealing a vent completely can trap moisture, so the required airflow has to stay.
Mistake 3: Trusting a “Fire-Resistant” Label on Plants, Mulch or Paint
A label isn’t the rule. Plants can stay in parts of Zone 0 only where the local standard allows them, and only when they’re kept free of dead material. Combustible mulch doesn’t belong against the house at all, whatever the bag says.
Every plant burns once conditions get bad enough. Drought-tolerant shrubs still drop dead leaves and grow woody stems, and they do it fastest in the hot, dry months when embers are most likely. The safest Zone 0 landscape is mostly hardscape, with a few low, irrigated, well-groomed plants set back from openings.
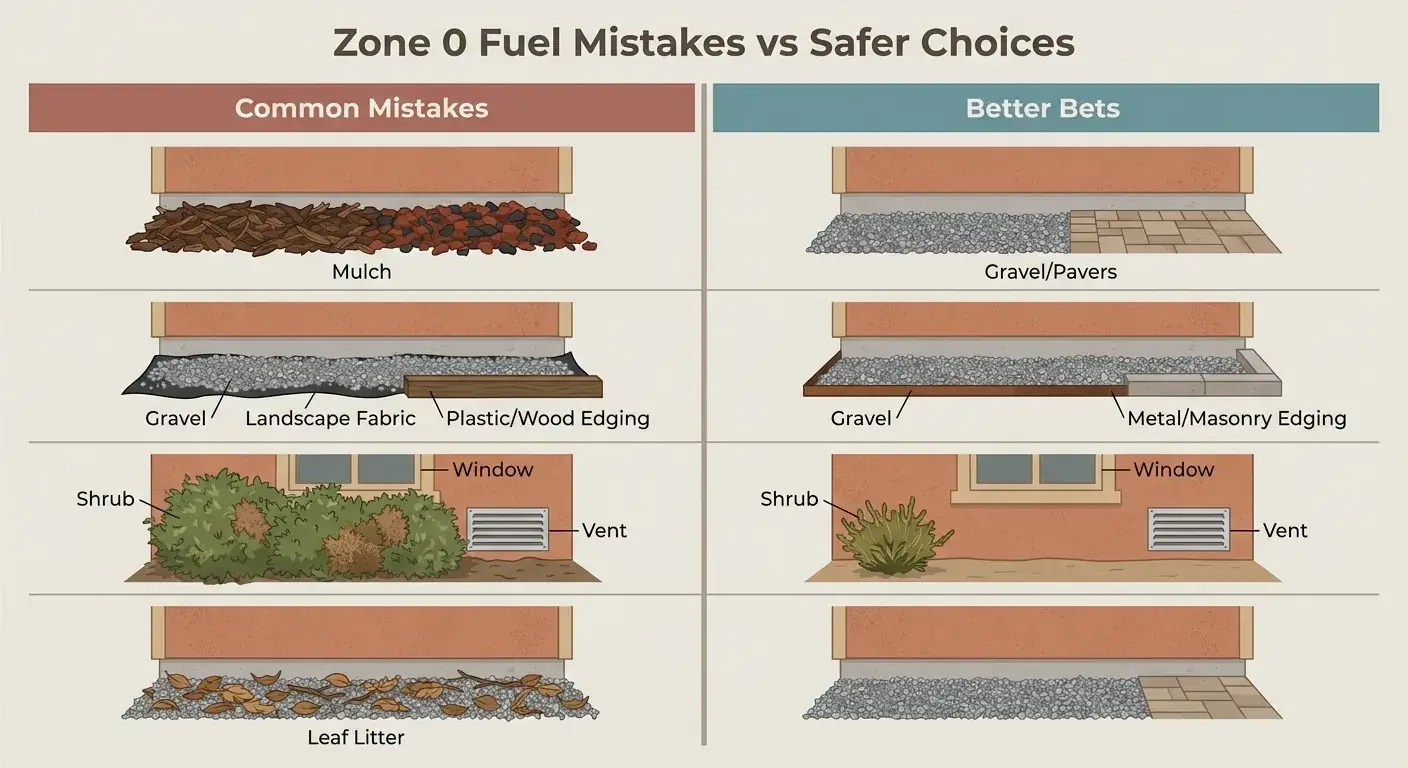
Common mistakes box
- Rubber or bark mulch sold as “fire-resistant.” Wood chips, bark and rubber all catch embers. Gravel, pavers, concrete or decomposed granite are the better bets.
- Gravel over landscape fabric with plastic or wood edging. The fabric and edging are fuel. Metal or masonry edging works, and combustible fabric at the wall line doesn’t.
- Shrubs tucked under windows and vents. Many local standards set a specific gap from openings. Foliage should stay clear of glass and vent faces.
- Ripping out every tree. A mature tree can often stay if the local standard allows it, the dead wood is removed and branches are kept off the roof and walls.
- Leaving fallen leaves in the gravel. Leaf litter on hardscape ignites as easily as leaf litter on soil.
Mistake 4: Leaving Fences, Firewood, Planters and Decks Connected to the House
Zone 0 doesn’t mean nothing can be within five feet. It means nothing combustible should form a path to the house. Most edge cases come down to one question: does this item burn, and does it touch or nearly touch the building?
The U.S. Fire Administration reports that the federal fire agency recommends metal or stone fencing for the first 5 feet where a wooden fence meets the house. Here’s how the common items usually sort out:
- Wood fence or gate attached to siding: replace the last 5 feet with metal or masonry, or follow your jurisdiction’s approved detail.
- Firewood and stacked lumber: it moves out of Zone 0. A tarp doesn’t make it safe.
- Plastic or wood planters and outdoor furniture: these relocate. Some rules allow potted plants in noncombustible containers.
- Attached deck: the deck stays, but the area underneath must be cleared and kept clean. Stored items and leaf piles under a deck are the classic hidden ember bed.
- Stairs: treat them like the deck. Clear the ground around them and underneath.
- Sheds: where the local code allows a small outbuilding near the house, expect it to be built entirely of noncombustible materials.
- AC units and propane tanks: your local fire code and the equipment rules decide placement. The pad should stay clear of plants, leaves and stored items.
Wherever state guidance and your city’s rules differ, the local fire code official makes the final call.
Mistake 5: Expecting Fire-Rated Paint to Make a Combustible Feature Compliant
A coating won’t turn wood siding, a wood deck or open eaves into a compliant Zone 0 feature. Fire-retardant coatings are a secondary measure. They make sense for wood that can’t reasonably be removed, such as rafter tails, trim, a fence section or a deck underside, and only after debris, vents and gaps are handled.
Some homeowners ask whether they can simply spray the whole house. Honestly, it’s a tempting idea. A coating can slow flame spread under test conditions. It won’t stop embers from entering a vent, igniting leaves in a gutter or lighting debris under a deck.
Warning box: read the data sheet, not the can
- Fire-resistant, fire-retardant and fire-rated are different terms. None of them means fireproof.
- ASTM E84 numbers apply to what was tested. A flame-spread index under 25 on one wood species, thickness and primer doesn’t carry over to your siding or your old stain.
- Interior-only products fail outdoors. Look for exterior weathering data. As the USDA Forest Service notes, fire-retardant-treated wood has historically been weathered before fire testing using Method A and Method B of ASTM D 2898.
- Acceptance rests with your local building or fire official and the manufacturer’s technical data sheet. A sales claim doesn’t count.
Sometimes the right call is replacement, not paint. A painting license covers coatings only. At Foothill Painting, the owner also holds a general contractor license, which covers cladding and other exterior hardening work beyond coatings.
Coating Over Rot, Dirt or Old Finish, and Skipping the Underside
Exterior fire-retardant coatings need sound, clean, dry wood and full coverage on every face. Skip any of those and the coating peels, protects unevenly and can draw a failed inspection.
The failures painters see most:
- Coating over decayed or damp wood, which hides the rot and traps moisture.
- Brushing over dust, chalky old paint or mildew, so the film lifts within a season.
- Thin coverage from stretching the product or not stirring settled solids.
- Missing undersides, end grain, joints and the back of fence boards.
- Using a sprayer the manufacturer didn’t list, which leaves too little product or uneven buildup.
The fix is simple enough. Probe and replace damaged wood, clean and dry the surface, then apply at the manufacturer’s coverage rate. At Foothill Painting, paint goes on at the manufacturer’s specified spread rate and is never thinned, which is what qualifies the customer for the full manufacturer paint warranty. Coatings get the same discipline. If you’d like someone to look at your eaves and deck before you buy any product, you can request a free on-site estimate.
Before: fire-retardant coating rolled over gray, weathered rafter tails with soft ends and open gaps at the blocking. The deck top is coated, the joists untouched.
After: rotted tails replaced, gaps sealed with fire-resistant caulk, wood cleaned and dried, product applied at the listed rate to every face, deck joists and end grain included.
Mistake 6: Treating Zone 0 as Finished After One Cleanup
Zone 0 needs checking several times a year, plus after every windstorm. Leaf drop, Santa Ana winds, drought-killed plants and sun-worn coatings rebuild the hazard you just removed. It’s a bit like doing the dishes. Nobody expects them to stay done.
A workable rhythm:
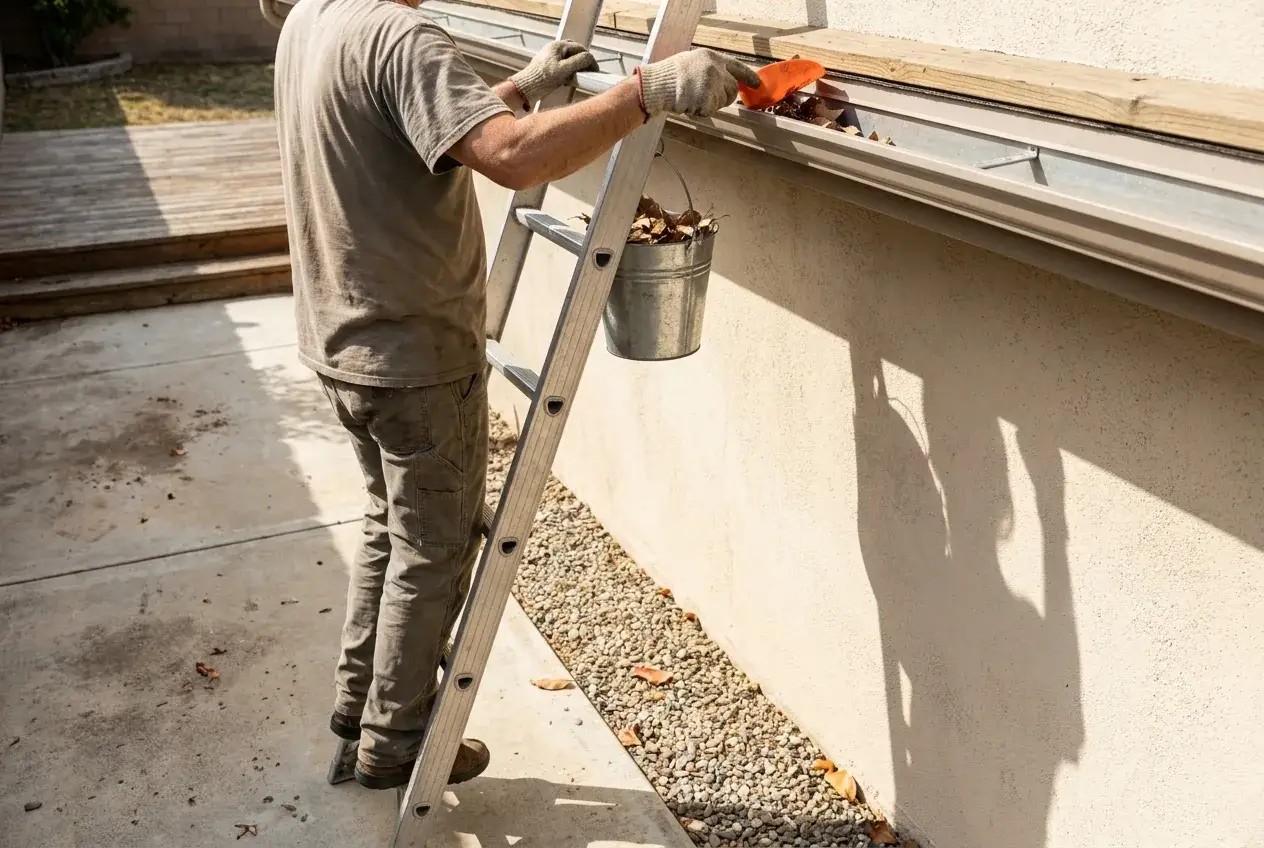
- Monthly in fire season: clear gutters, roof valleys, deck corners and the gravel band.
- After any wind event: walk the perimeter and check under decks and stairs.
- Each spring: prune dead wood and confirm branch clearance from the roof.
- Each year: inspect coatings for peeling, chalking or worn spots, and record what you find.
Existing homes aren’t exempt. According to the California Governor’s Office, under California’s planned rules, requirements for existing homes would likely be phased in over three years. Owners who wait for a deadline, a sale or an insurance notice end up hiring rushed crews and redoing work. Effective dates and local adoption still vary, so confirm them with your fire agency. The rules themselves are covered in “Zone 0 Regulations: The Complete Guide” and “New Defensible Space Law in California: What Changed.” For what clearing work typically runs, see “Brush Clearance in Los Angeles: Costs and Hiring.”
The Mistake That Does the Most Damage: Treating Zone 0 as Cosmetic
Clearing Zone 0 alone doesn’t satisfy California’s defensible-space requirements, and a clean-looking five feet is the most expensive false comfort on this list. An overgrown slope 20 feet out can still undo a clean first five feet.
Zone 0 is the inner band of a larger system. How those defensible space zones work together is laid out in “What Are Defensible Space Zones? How They Work.”
Quick win box: the ten-minute roofline-down check
- Stand back and photograph each side of the house.
- Look at the roof and gutters first: needles, leaves, branches touching shingles.
- Check every vent for screen size, tears and plants growing in front.
- Look at the eaves for open gaps and bare or peeling wood.
- Check where fences and gates meet the siding.
- Crouch and look under the deck and stairs.
- Scan the ground from the wall out to five feet, then to thirty.
Date the photos and keep them. They show what you fixed and when.
Getting it right the first time comes down to three habits. Measure from every attached feature. Fix ember paths from the roof down before any coating goes on. Get the full scope, the materials and the price in writing. For a step-by-step field list, use “LA County Defensible Space Checklist for Home Hardening.” When you’re ready for a walk-through, Foothill Fire Hardening sends W-2 employee crews, gives you a written contract with fixed pricing, and states what coatings can and cannot do. Schedule your free fire hardening estimate and get documented work you can show an inspector or an insurer.
Frequently Asked Questions
Does Sherwin-Williams offer fire-rated paint?
Sherwin-Williams sells fire-protective coatings, including intumescent products aimed mostly at structural steel and commercial interiors. Whether any product fits an exterior wood feature near a home depends on its technical data sheet, its exterior weathering data and your local official’s acceptance. Check the tested substrate and the coverage rate before buying.
Can you spray your house with fire-retardant?
Homeowners can buy spray-on fire-retardant gels and liquids. Most are short-term products, applied before a fire threat, and they lose effectiveness after rain, sun or washing. Long-term exterior coatings are a different category with set coverage rates and recoat schedules. Neither one substitutes for clearing debris and upgrading vents.
What does AB 3074 have to do with Zone 0?
AB 3074, signed in 2020, added the ember-resistant zone within five feet of structures to California’s defensible-space law in Public Resources Code 4291. The Board of Forestry writes the detailed rules, and local agencies enforce them. That’s why your city or county may add stricter details.
Can fire-retardant paint be applied over existing exterior paint, stain or pressure-treated wood?
Sometimes, but only if the manufacturer’s data sheet allows that substrate. Many penetrating treatments need bare wood, so an existing film may have to be stripped. Pressure-treated lumber often needs to dry for weeks before it will accept a coating. Test adhesion on a small area first.
Should a deck be coated, screened underneath or replaced with a noncombustible material?
Start underneath. Remove stored items and debris, then cover the ground below with gravel, pavers or concrete. Coating the underside and framing is a reasonable added step for sound wood. A deck with rot or heavy weathering is usually a replacement job, and composite or noncombustible decking avoids repeat recoating.
Who should perform Zone 0 work: a landscaper, arborist, roofer or fire-hardening contractor?
It usually takes more than one trade. Landscapers handle plants and hardscape. Certified arborists handle mature trees. Roofers or maintenance crews handle gutters and valleys. A licensed contractor handles vents, gaps, coatings and cladding. Ask each bid to list exactly which of those items it covers.
How do I document Zone 0 work for insurance, resale or an HOA?
Keep dated before-and-after photos from all four sides and from under the deck. Also save the written contract, product data sheets, receipts showing product, batch and coverage, and any inspection reports. Store them together so you can send a single file when an insurer, buyer or HOA board asks. Documentation helps, but no one can promise a policy or a price.